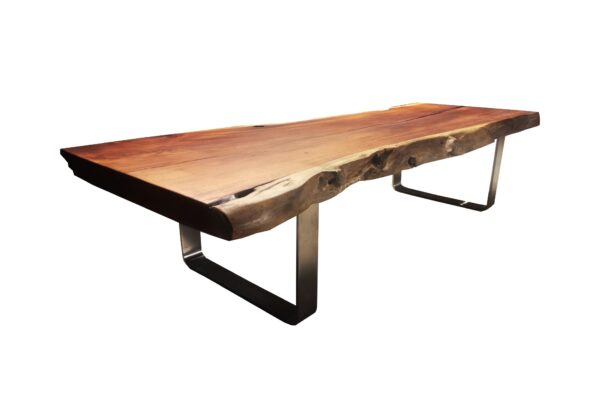
Restoring a lacquered table
When you choose to furnish your home with exceptionally exquisite and fragile furniture, you are hesitant to use it for fear of accidentally ruining it with blows or scratches. Some paints are also more sensitive to heat and chemicals than others.
Lacquered surfaces, for example, are extremely fragile, and a single stroke can completely damage the furniture’s attractiveness. Unfortunately, it is not always possible to keep them safe from harm.
If you’ve ruined your lacquered table and aren’t sure how to fix it, follow the instructions below. By following the methods outlined, you will be able to restore your kitchen & dining tables without the need for professional assistance.
What’s necessary
- Paper for sanding
- Remover of paint
- Putty for use on wood
- a gentle cloth
- Brushes made of steel wool
- a single candle
- Various colors of paint
- Finally, a protective varnish is applied
Do your shopping
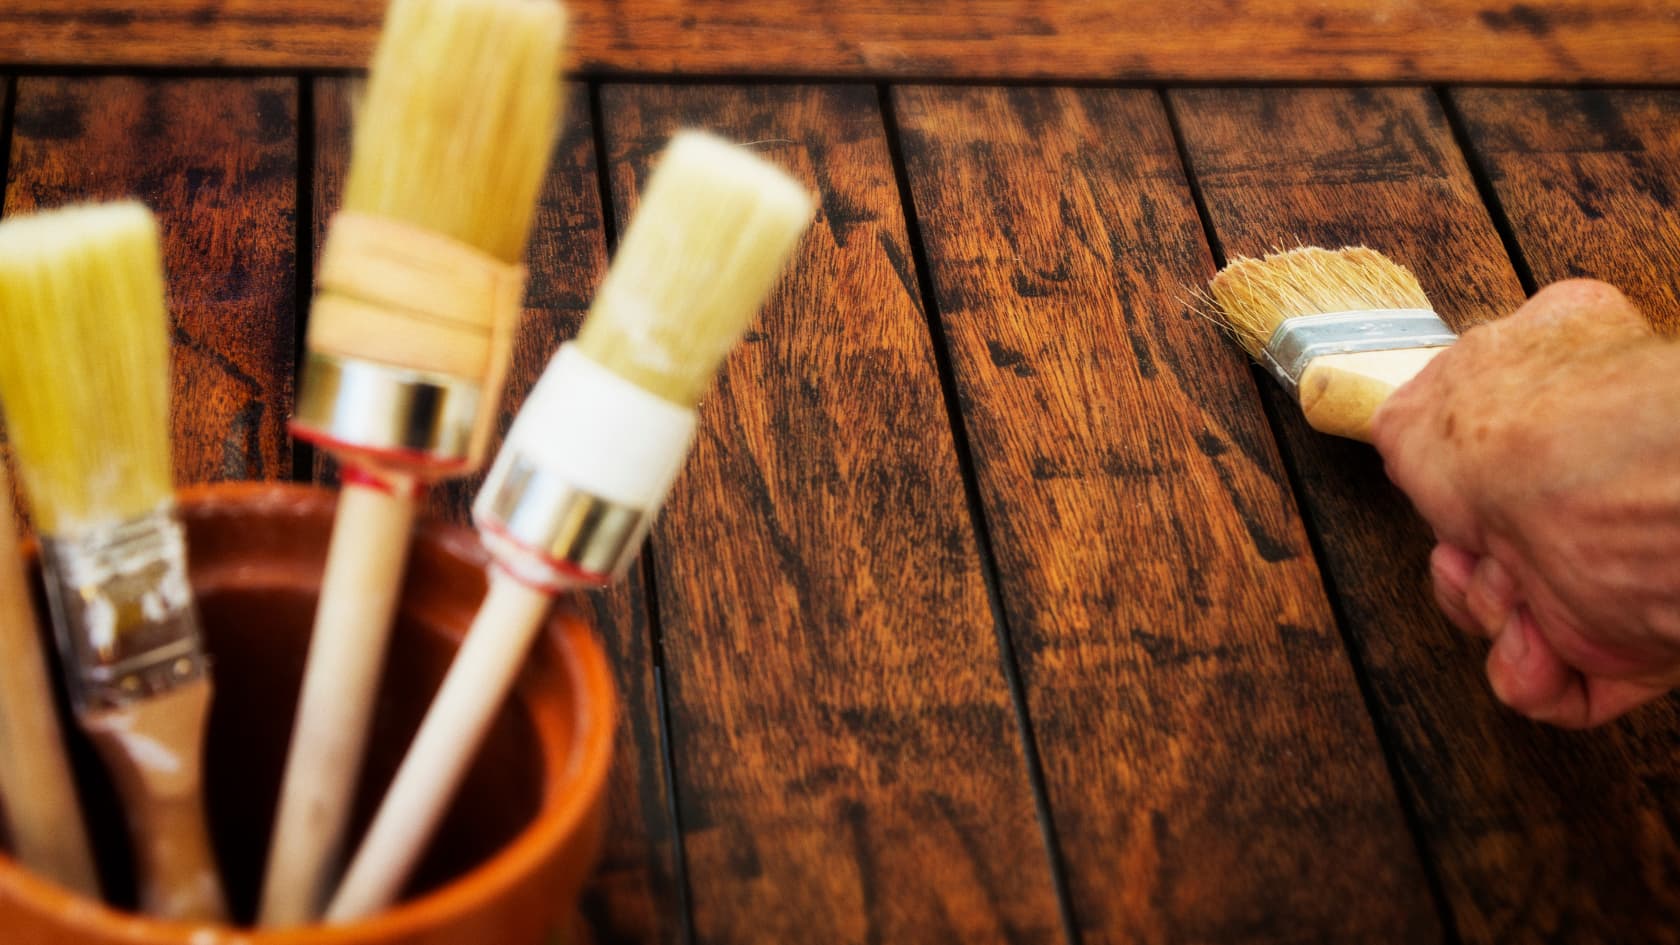
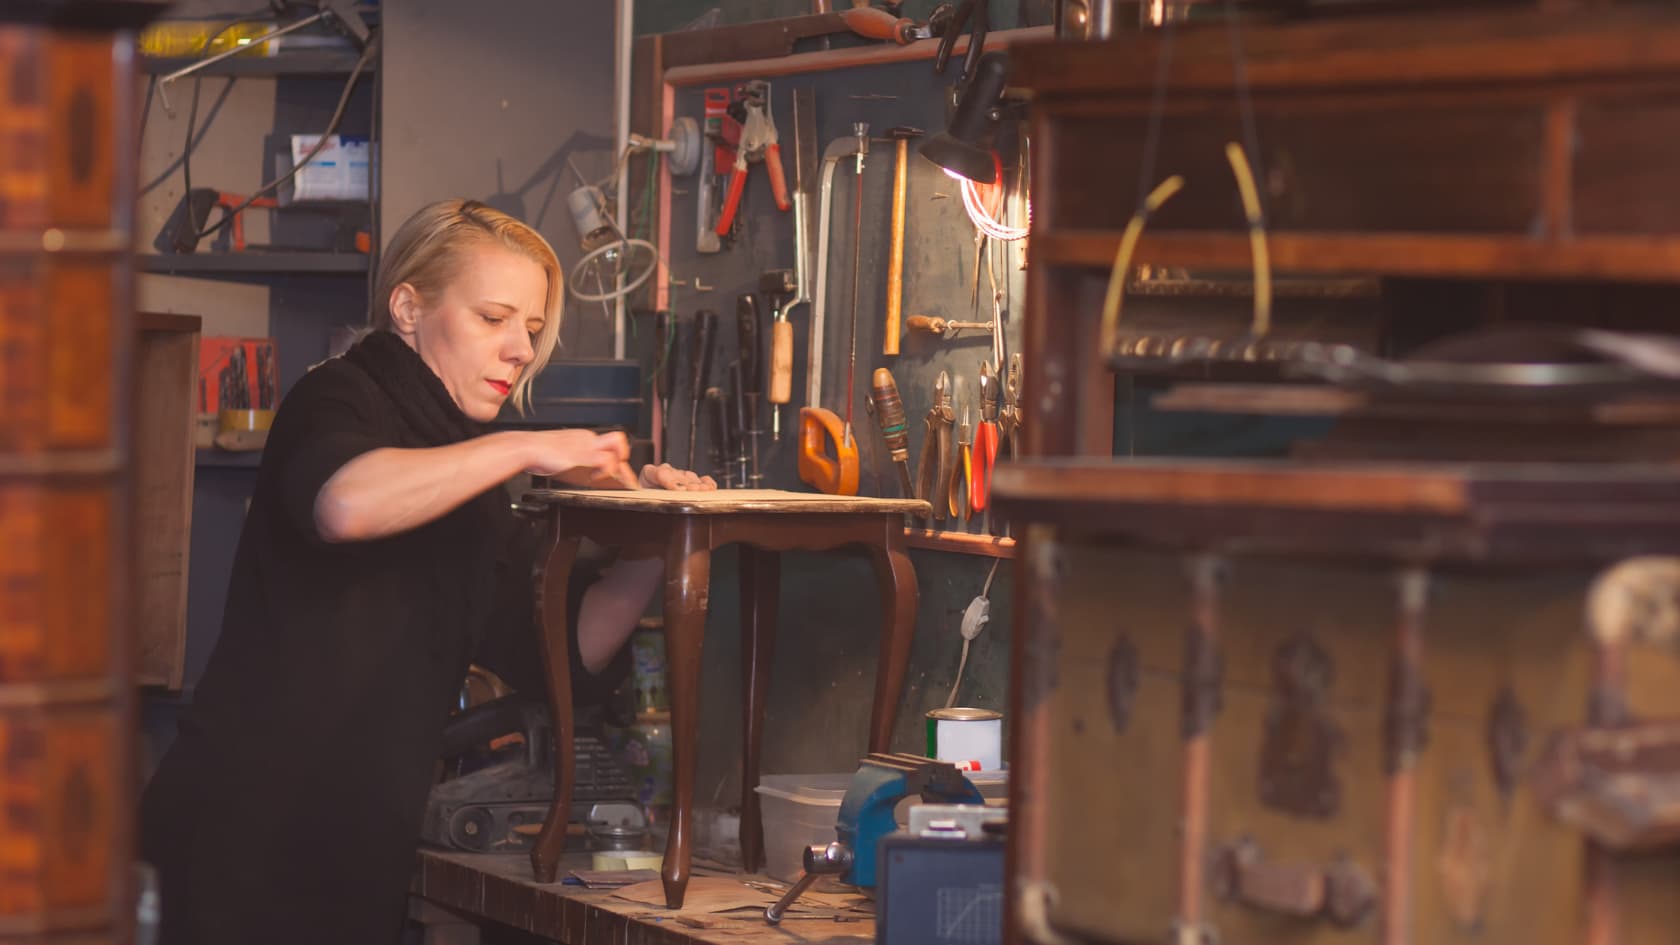
The first step is to gather all of the necessary supplies. After that, cover the floor with plastic sheets or paper and begin peeling the lacquer from your table.
You can use sandpaper or a paint stripper to complete this painstaking and fundamental task.
They are available in spray or gel form on the market. The latter is the most commonly utilized and, as a result, the more commonly purchased by restorers.
If you choose to use the paint stripper, make sure you follow the instructions on the package. The product makes it easier to remove the paint, but it must be left to work for at least half an hour.
Remove the paint in stages
To avoid dusting the entire surface of the lacquered table, work in modest increments. In fact, the paint remover dries quickly, making it impossible to remove the paint.
Remove the paint with a spatula after the required amount of time has passed. Steel wool can also be used to assist you.
Using a cloth, wipe away any remaining dust. Cover any gaps or depressions in the lacquered table’s surface with wood putty and lightly sand these areas.
Start by applying the primer
After that, you’ll need to apply the adhesion primer. This product ensures that successive paint layers stick flawlessly to the wood, reducing the possibility of disappointing all of your hard work.
To perform a good job, you’ll need to apply two coats of primer, allowing each one to dry completely before proceeding. You’ll need to use a brown primer to achieve the final shabby look.
You’ll also need to apply candle wax on the specific parts of your furniture for a shabby look. The furniture can then be colored after this process.
Select the most appropriate color
Ivory or mint green are the most appropriate colors for the shabby. Choose the one that best suits you and allow it to dry completely.
The final step is to use fine sandpaper to sand the areas where the wax has been applied. The furniture will appear worn and aged as a result of this.
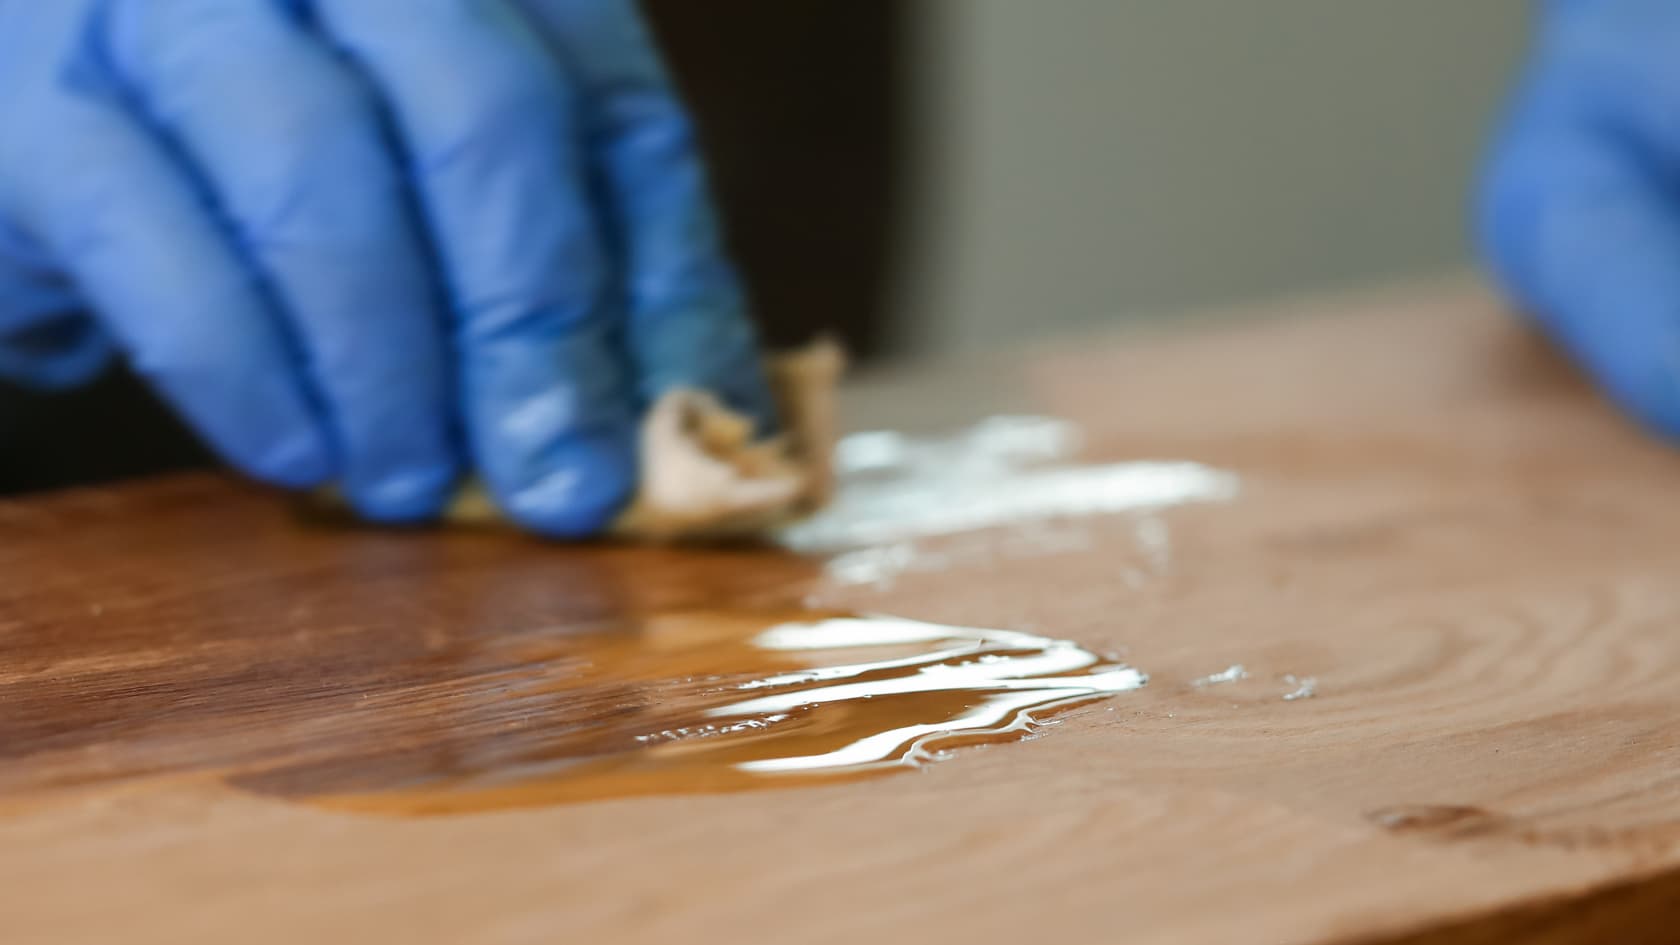
The job will be finished with a final layer of protective varnish.
Your table is now available for use once more!
LTJarbor offer
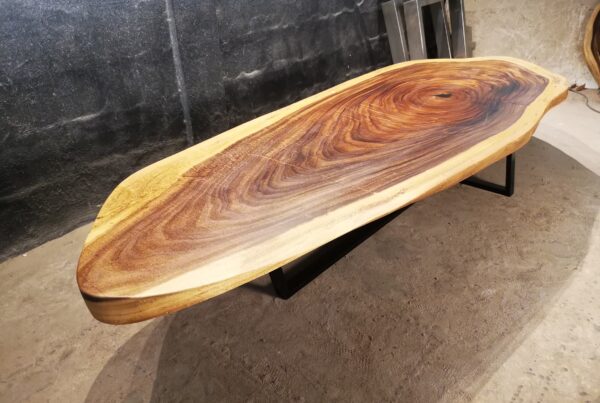
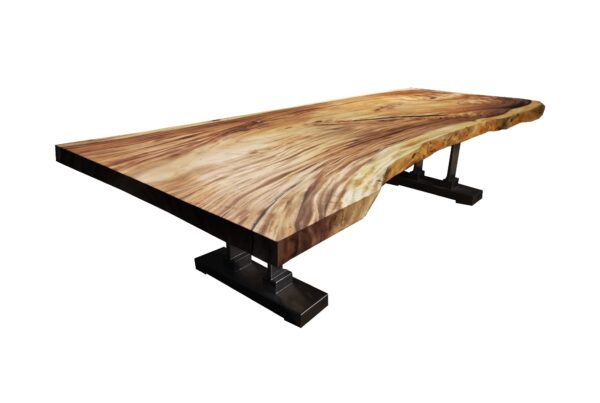
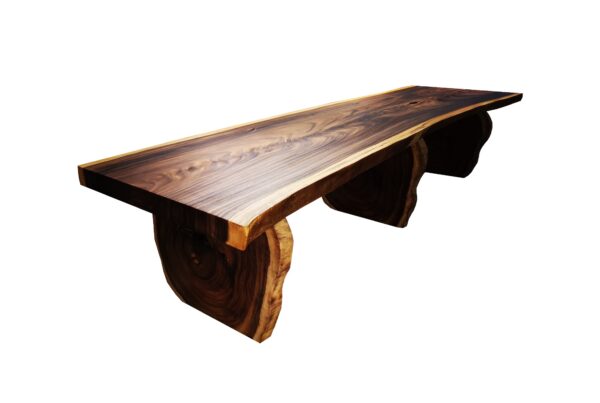
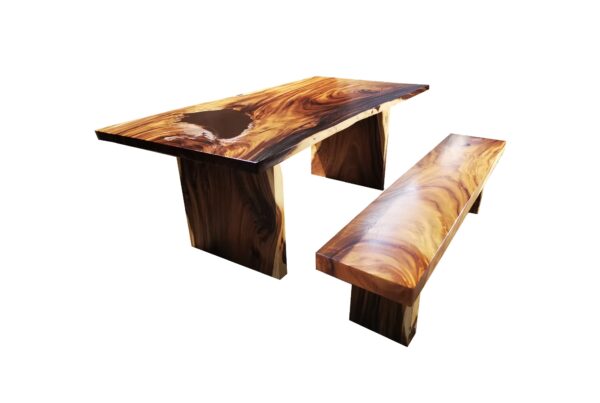
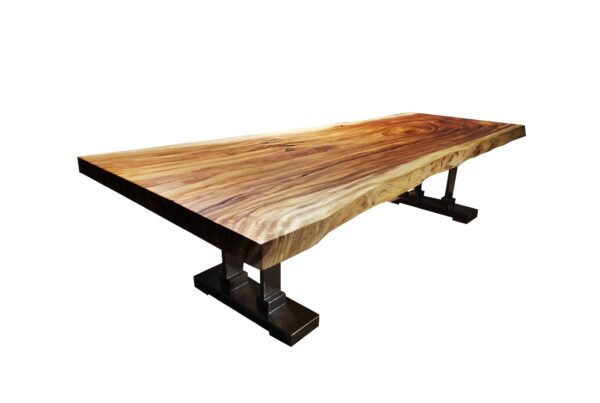
Our tables are made in a sustainable and ethical way, using salvaged wood that is cut into planks. The wooden planks are then turned into unique pieces of furniture with the use of modern hand-coated oil finish technique from our workshop in Thailand. Our dining room furniture comes ready to be used outside or inside your home for many years to come.
article by:
A tech enthusiast with a passion for interior design,
architecture and modern technology.

