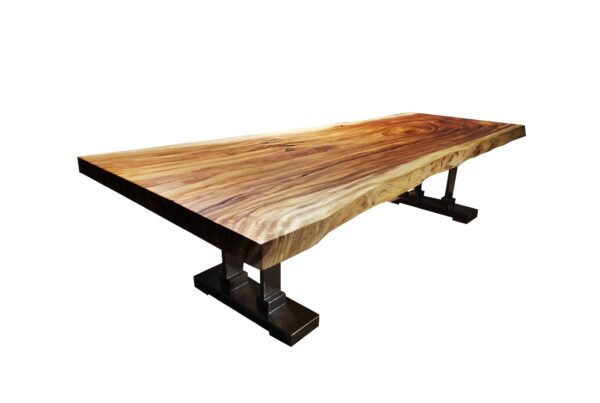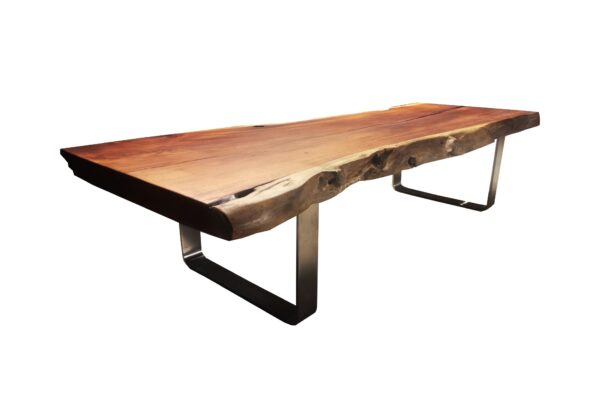
What is the best DIY way to make a wooden table?
The only components of a hardwood table are a base plank, four legs, and an underlying support system.
Before you begin building your table, make sure you have all of the essential materials on hand. To ensure that you have everything you need, make a preliminary project on paper in which you may mark all of the pieces that will make up your structure.
After that, go to a woodworking or DIY store and look through the many options. If you carefully follow all of the methods outlined here, you will achieve a professional result.
What you’ll need for a DIY table
To make a DIY single slab live edge dining table, you’ll need four pre-cut legs of the desired height, a slab for the base, and four additional pre-cut pieces of 4 cm by 8 cm for the rails’ tops. You’ll also need flat head screws, bolts, and screwdrivers in the necessary sizes.
Purchase an anti-woodworm product, sandpaper, putty, a jar of transparent fixing varnish, and a specific wood enamel, either transparent or in the chromatic tone you desire for your table’s finish. Rubber gloves, as well as a protective sheet to lay on the ground to avoid dirtying the surfaces with the paint and dust generated by working and sanding the wood, would be useful.
How to build your very own custom table
Decide on the size and height of your custom live edge dining table first.
After you’ve decided on a size, you may begin cutting the various components. Then arrange the individual pieces in a well-lit area where you may work.
Insert the boards into the respective corner joints while holding the base board upside down on the table. These pieces will act as guides and provide support from below for the legs. Make sure the guides are centered on the underside of the main board and that they connect at the corners.
DIY Table corners support
The rules should be placed on the inside of the basic rectangle you made with the instructions. Fillets will be required to keep the rails attached to the table top. Continue by screwing them into the table’s top.
To establish stability, screw the rail into each thread. Replace each rail and repeat the process until the table stand is totally secure. Place double safety screws on the rails if necessary. After you’ve screwed your guides to the threads, you’ll need to put your corner supports in place.
Screw both sections into the neighboring top rail after placing a holder in each corner. Carry out this procedure for each of the four corner supports. Additional screws can be used to make the table safer in this scenario as well.
How to put the table’s corners together
Each corner support should have a hole drilled through the middle. The legs will be attached in this section. Because you bought pre-cut legs, they should already be perforated for a precise fit. Working on one corner at a time, position each leg in its proper location. Secure the leg of the corner support with bolts from the outside to the inside, screwing them all the way in. Use putty to fill in any fractures in the wood.
Make a DIY Table: cross-boards and smoothing
The base table has been completed at this time. If you like the idea, you can add footrests by mounting cross boards between the table legs. The choice of whether you carve them with specific ornamentation or leave them smooth is then entirely up to you.
Smooth the wood with coarse-textured sandpaper to remove any roughness and make it ready to accept following products for maintenance and graphic finishing. Spread an anti-woodworm product evenly across the table’s entire surface. Then go ahead and paint it. Use clear or colorful enamel paints made specifically for wood.
Spread the product using a natural sable brush in the direction of the wood grain, never against it. Allow at least 48 hours for everything to cure after you’ve painted all of the different components.
After the required amount of time has passed, apply a second coat and allow it to dry. The final step is to use a color fixer to impregnate the table. Also, in this situation, pay close attention to the wood grain.
We’ve figured out what the basic steps are for building our table, but where can we get the supplies we’ll need? Despite your desire to produce something with your skills while saving money, you often lack the time to visit centers where you may get basic supplies, so rather than wasting time, you purchase them fully completed. This is frequently due to a lack of knowledge on where to turn.
Today, there are a plethora of stores that can assist you with DIY projects. Ikea, for example, is one of the most well-known retailers of home furnishings. Inside, a section dedicated to do-it-yourself will allow you to choose from a variety of materials and the products and items that best fit your needs. Of course, Ikea products are already pre-finished and require only assembly, even if a piece of furniture purchased from one of the many retailers in the vicinity can be customized as desired.
Search online for a shop that specializes in do-it-yourself products and services and stocks a wide range of materials.
The LTJarbor offer
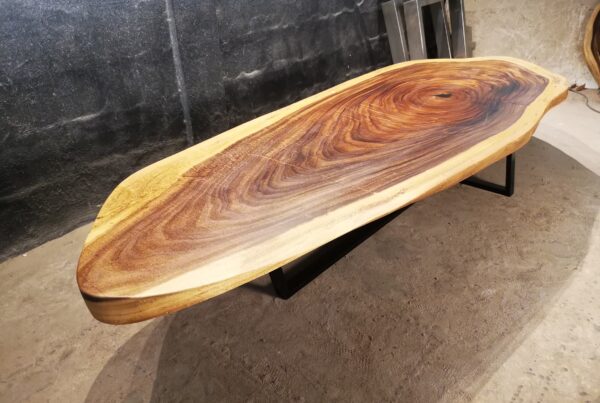
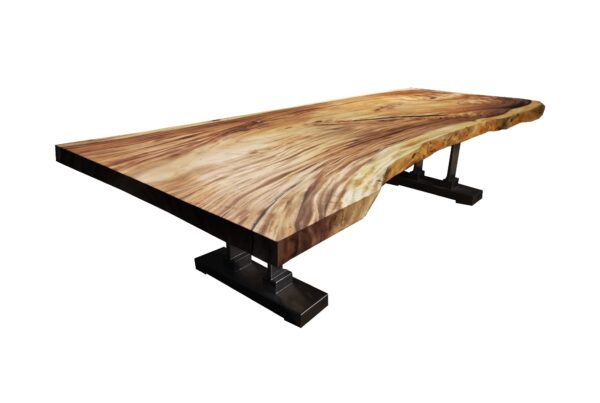
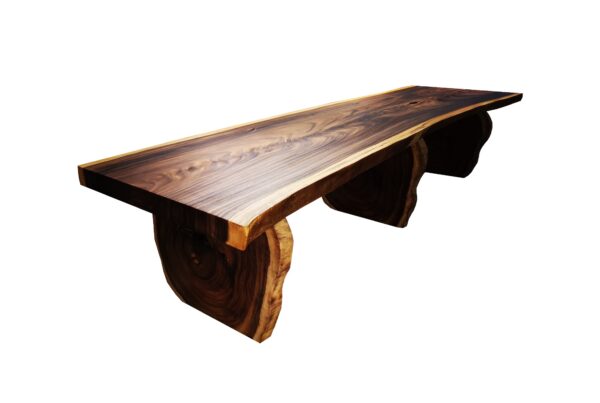
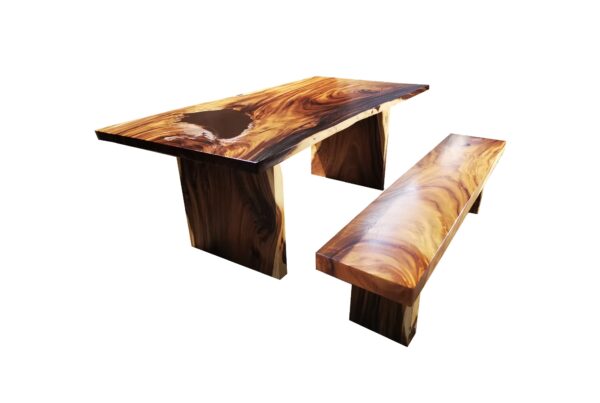
Alternatively, you can always refer to us at LTJarbor for your single slab live edge dining table top and build your own legs however you like. Feel free to contact us and ask us for information, we have a large selection of custom live edge dining table tops that can be adapted to your project. Please take a look at our online portfolio as well.
article by:
A tech enthusiast with a passion for interior design,
architecture and modern technology.

